When you think about pie, the crust often sets the stage for a truly delightful experience. A flaky, all butter pie crust from scratch not only provides a rich, tender base but also elevates the flavors of your filling. By mastering a few essential techniques, you can create a crust that’s perfectly flaky and golden. Ready to discover the secrets behind achieving that coveted texture? Let’s explore the art of crafting the perfect pie crust.
Classic All-Butter Pie Crust Recipe
Ingredients (makes one 9-inch double crust)
- 2 ½ cups (315 g) all-purpose flour
- 1 teaspoon salt
- 1 tablespoon sugar (optional, for sweet pies)
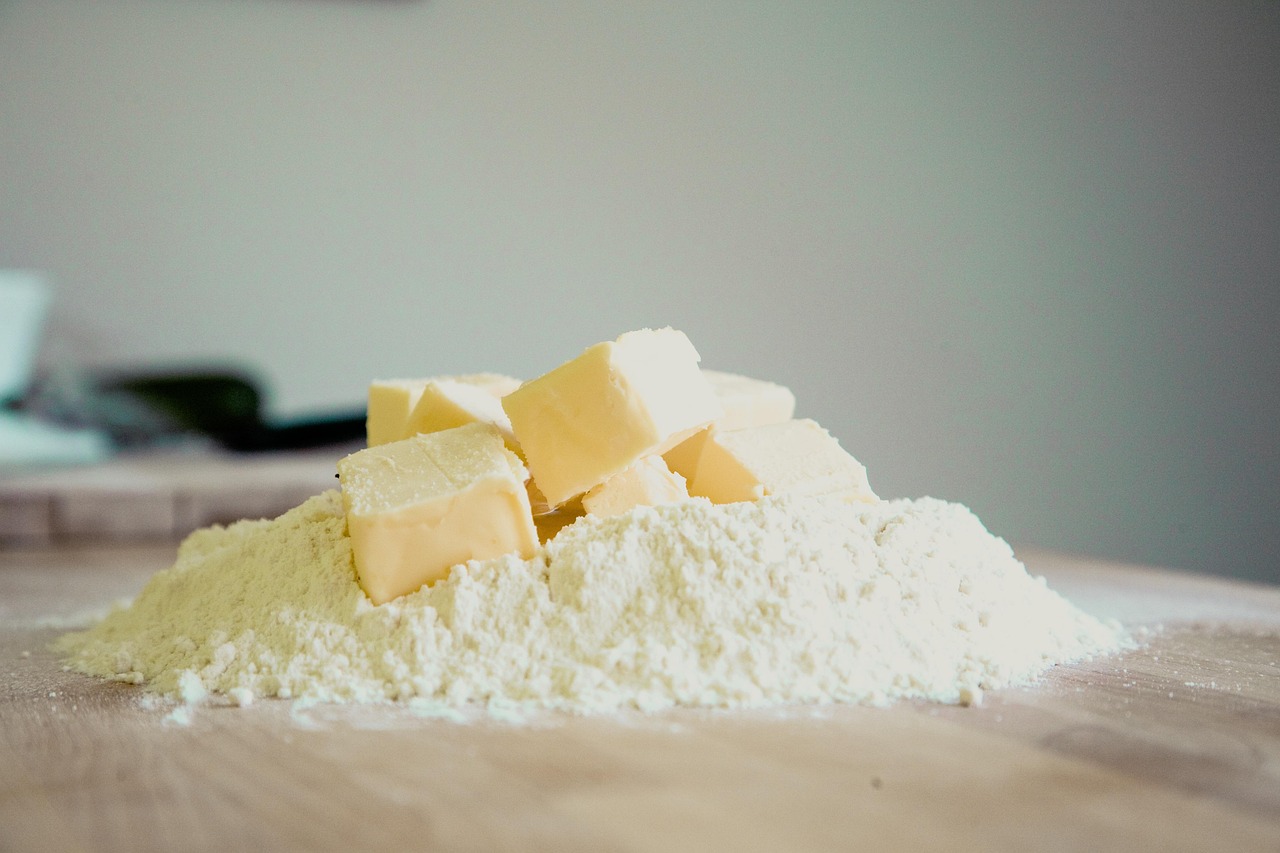
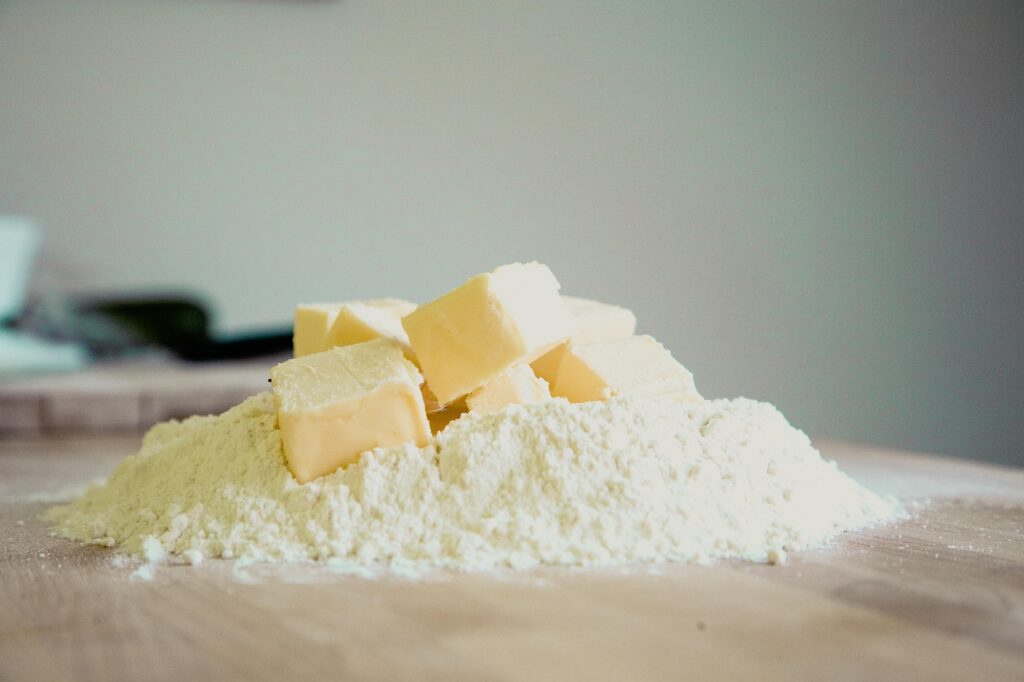
- 1 cup (230 g) unsalted butter, cold and cut into cubes
- 6–8 tablespoons ice-cold water
Instructions
- Combine dry ingredients:
In a large mixing bowl, whisk together flour, salt, and sugar (if using). - Cut in the butter:
Add the cold butter cubes and use a pastry cutter, fork, or your fingertips to work them into the flour until the mixture looks like coarse crumbs with a few pea-sized butter bits remaining. Those small butter chunks are what make your crust beautifully flaky! - Add water:
Sprinkle in ice water, one tablespoon at a time, stirring gently with a fork until the dough just starts to come together.
Avoid overmixing — stop as soon as it holds together when pressed. - Chill the dough:
Divide the dough into two discs, wrap in plastic wrap, and refrigerate for at least 1 hour (or up to 2 days). Chilling helps the butter firm up and prevents shrinking while baking. - Roll and shape:
On a lightly floured surface, roll out one disc to fit your pie plate. Carefully transfer it to your dish, trim the edges, and crimp or decorate as desired. - Bake:
- For a blind-baked crust: Prick with a fork, line with parchment, and fill with pie weights. Bake at 375°F (190°C) for 15 minutes, remove weights, and bake another 10 minutes until golden.
- For filled pies: Follow your pie recipe’s baking instructions.
Tips for the Perfect Butter Pie Crust
- Keep everything cold — butter, flour, and even your mixing bowl.
- Use European-style butter for a richer flavor (higher butterfat = flakier crust).
- Brush the top crust with egg wash for a golden, glossy finish.
- Works beautifully for fruit pies, custard pies, or savory quiches.
- Measure your flour properly (try these tips from King Arthur: https://www.kingarthurbaking.com/videos/baking-skills/how-to-measure-flour)
Understanding the Importance of Ingredients
When you embark on the journey of creating an all butter flaky pie crust, understanding the importance of ingredients is crucial to achieving that perfect balance of flavor and texture. Each component plays a vital role in the overall outcome.
For instance, choosing high-quality flour ensures a sturdy yet tender base, while a pinch of salt enhances the crust’s flavor profile. Cold water is essential, too; it helps to bind the ingredients without melting the butter prematurely.
Additionally, consider the type of sugar you use, as it can influence both sweetness and browning. Every detail counts, so take a moment to select your ingredients wisely. This thoughtful approach will elevate your pie crust, making every bite a delightful experience.
The Role of Butter in Pie Crust from Scratch
Butter is the heart of a flaky pie crust, bringing richness and depth that elevates your creation to new heights. Its high-fat content creates a tender, melt-in-your-mouth texture that’s simply irresistible.
When you incorporate cold butter into your dough, it forms little pockets that expand during baking, resulting in those delightful flaky layers. The flavor it imparts is unmatched, adding a subtle sweetness that complements both sweet and savory fillings.
Using quality butter makes a noticeable difference, as it enhances the overall taste of your pie. Plus, the aroma of butter baking in the oven is nothing short of heavenly.
If you’re out of butter or want to try something new, try our recipe for a flaky oil pastry.
Step-by-Step Guide to Making Flaky Butter Pie Crust from Scratch
Creating an all-butter flaky pie crust is a rewarding process that brings together simplicity and artistry.
Start by chilling your butter and cutting it into small cubes. In a large bowl, whisk together flour and salt, then add the cold butter, mixing until you achieve a crumbly texture.
Next, drizzle in ice-cold water, a tablespoon at a time, until the dough holds together without being sticky. Gently knead the dough on a floured surface, then divide it into two disks.
Wrap them in plastic wrap and refrigerate for at least an hour. When you’re ready to bake, roll out the dough to your desired thickness, and it’s ready for your favorite filling.
Enjoy the process and the delicious results!
Tips for Achieving the Perfect Flakiness
To achieve that coveted flakiness in your pie crust, it’s essential to keep your ingredients cold throughout the process. Start by chilling your butter, flour, and even your mixing bowl.
When you cut the butter into the flour, aim for pea-sized pieces; this allows pockets of butter to create steam during baking, resulting in those delightful layers. Don’t overwork the dough; mix just until combined.
For rolling it out, use gentle pressure to maintain those cold butter bits. Finally, refrigerate your rolled-out crust for at least 30 minutes before baking. This step firms everything up and enhances flakiness.
With these tips, you’ll create a pie crust that’s irresistibly tender and flaky, ready to cradle your favorite fillings. Enjoy!
Common Mistakes to Avoid
While it may seem straightforward, making a pie crust can be fraught with pitfalls that undermine your efforts. One common mistake is using overly warm butter; it should be cold to ensure flakiness.
Don’t forget to measure your flour accurately; too much can lead to a tough crust. Another misstep is overworking the dough; handle it gently to keep those luscious layers intact.
Also, avoid skipping the resting period; letting the dough relax is key to achieving a tender texture. Finally, resist the urge to stretch the dough into the pie dish, as this can cause shrinkage during baking.
Chilling and Its Effects on Texture
Chilling the dough not only enhances its flavor but also plays a crucial role in achieving that coveted flaky texture. When you chill your dough, you’re allowing the fats to solidify, which prevents them from melting into the flour. This separation creates those delightful layers that make your crust so tender and flaky.
A well-chilled dough also helps to relax the gluten, reducing toughness and giving you that perfect bite. Ideally, you should chill your dough for at least an hour, but longer is even better.
As you roll it out, you’ll notice how much easier it’s to handle, resulting in a beautifully crafted crust that’s simply irresistible. Embrace the chill and elevate your pie-making game!
How to Blind Bake Your Butter Pie Crust
Blind baking your crust is an essential step that ensures your pie has a perfectly cooked base, especially when using fillings that require little to no baking.
Start by preheating your oven to 400°F (200°C). Roll out your chilled crust and fit it into your pie pan, trimming the excess. Prick the bottom with a fork to prevent bubbling.
Next, line the crust with parchment paper and fill it with pie weights or dried beans. Bake for 15-20 minutes until the edges are golden.
Carefully remove the weights and parchment, then return the crust to the oven for another 5-10 minutes, until the bottom is lightly browned.
Let it cool completely before adding your filling. Enjoy your beautifully baked crust!
Spicing Up Your Butter Pie Crust
If you want to elevate the taste of your all butter flaky pie crust, consider incorporating a few flavor variations and additions. A pinch of sea salt enhances the natural sweetness of the butter, creating a perfect balance.
For a hint of warmth, try adding ground cinnamon or nutmeg, especially if you’re making a fruit pie. You can also experiment with citrus zest—like lemon or orange—for a refreshing twist.
If you’re feeling adventurous, fold in finely chopped herbs, such as rosemary or thyme, to complement savory fillings. Lastly, a splash of vanilla extract or almond extract can add a lovely depth to your crust.
These simple additions can transform your pie crust into a delightful culinary experience.
Storing and Freezing Your Butter Pie Crust
After enhancing your butter pie crust with delightful flavors, it’s important to know how to store and preserve it for future use.
If you plan to use your crust within a few days, wrap it tightly in plastic wrap and store it in the refrigerator.
For longer storage, consider freezing it. Shape your crust into a disk, wrap it in plastic, then place it in an airtight container or a freezer bag. It’ll stay fresh for up to three months!
When you’re ready to bake, simply transfer it to the fridge to thaw overnight.
This way, you’ll always have a delicious, flaky crust on hand for any occasion, ensuring your baking adventures are just a roll away.
You’ve Mastered Butter Pie Crust
With your flaky butter pie crust mastered, you’re ready to create delightful desserts that impress. Remember, the key lies in quality ingredients and gentle handling. Embrace the art of chilling and avoid common pitfalls to achieve that perfect flakiness. Whether you fill it with sweet fruits or savory delights, this crust will elevate your baking to new heights. So roll up your sleeves, let your creativity flow, and enjoy the delicious rewards of your efforts!